
We’re all familiar with fall chores: raking leaves, putting up storm windows, cleaning the garden, and so on. But backyard birders have their own unique set of fall chores to prepare for winter. Cleaning and winterizing bird houses should be at the top of your list.
Why Clean and Winterize Your Bird House?
Natural nest sites get no assistance with cleaning or repair before winter. This might lead you to assume that birdhouses also don’t need any special care. In fact, most natural nest sites are not reused. And because the sites are often open to the weather, seasonal rain and snow will cleanse the site well before nesting birds return in spring.
Bird houses are much more sheltered and enclosed than natural nesting sites. There aren’t enough breezes, rain showers, or snow flurries to clean them adequately for next spring’s nesting birds. If left untended, a birdhouse is vulnerable to several threats:
- Infiltration by rodents or insects
- A buildup of bacteria, mold, and fungus
- New prospective residents may believe the birdhouse is already occupied
- The birdhouse may weaken and decay
With a few simple cleaning and winterizing steps, you can ensure your birdhouse is in peak condition and ready to welcome new residents each year.
How to Clean a Bird House
Bird houses should be thoroughly cleaned after the nesting season ends and the last young birds have left the nest. Depending on the types of birds that have used the house, it may be ready for cleaning as early as late summer. Mid to late fall is the ideal time to be sure all birdhouses are cleaned. To clean a birdhouse:
- Open the house as much as possible. Some designs include movable sides, roofs, or fronts for easy access. A panel may need to be unscrewed for thorough cleaning.
- Remove any old nesting material and scrape out any accumulated debris. This material can be added to a compost pile or discarded in the trash.
- Scrub the house with a weak bleach solution to clean and sterilize it, getting into corners and cracks thoroughly. Also wipe down any hook, pole, or post the house uses.
- Rinse the house well in clean, clear water to remove any lingering chemicals and be sure all debris is washed away.
- Unclog any drainage or ventilation holes that may be choked with debris. If necessary, drill a few more holes to improve drainage and ventilation.
- Dry the house thoroughly in bright sunlight to break down any remaining chemicals and ensure there is no moisture left that may lead to mold or mildew.
- Inspect and repair the house if needed, checking the security of seams and hinges, removing large splinters, and sealing any cracks.
- Reassemble the house and be sure it is firmly fitted and ready for the next family of nesting birds.
How to Winterizing a Bird House
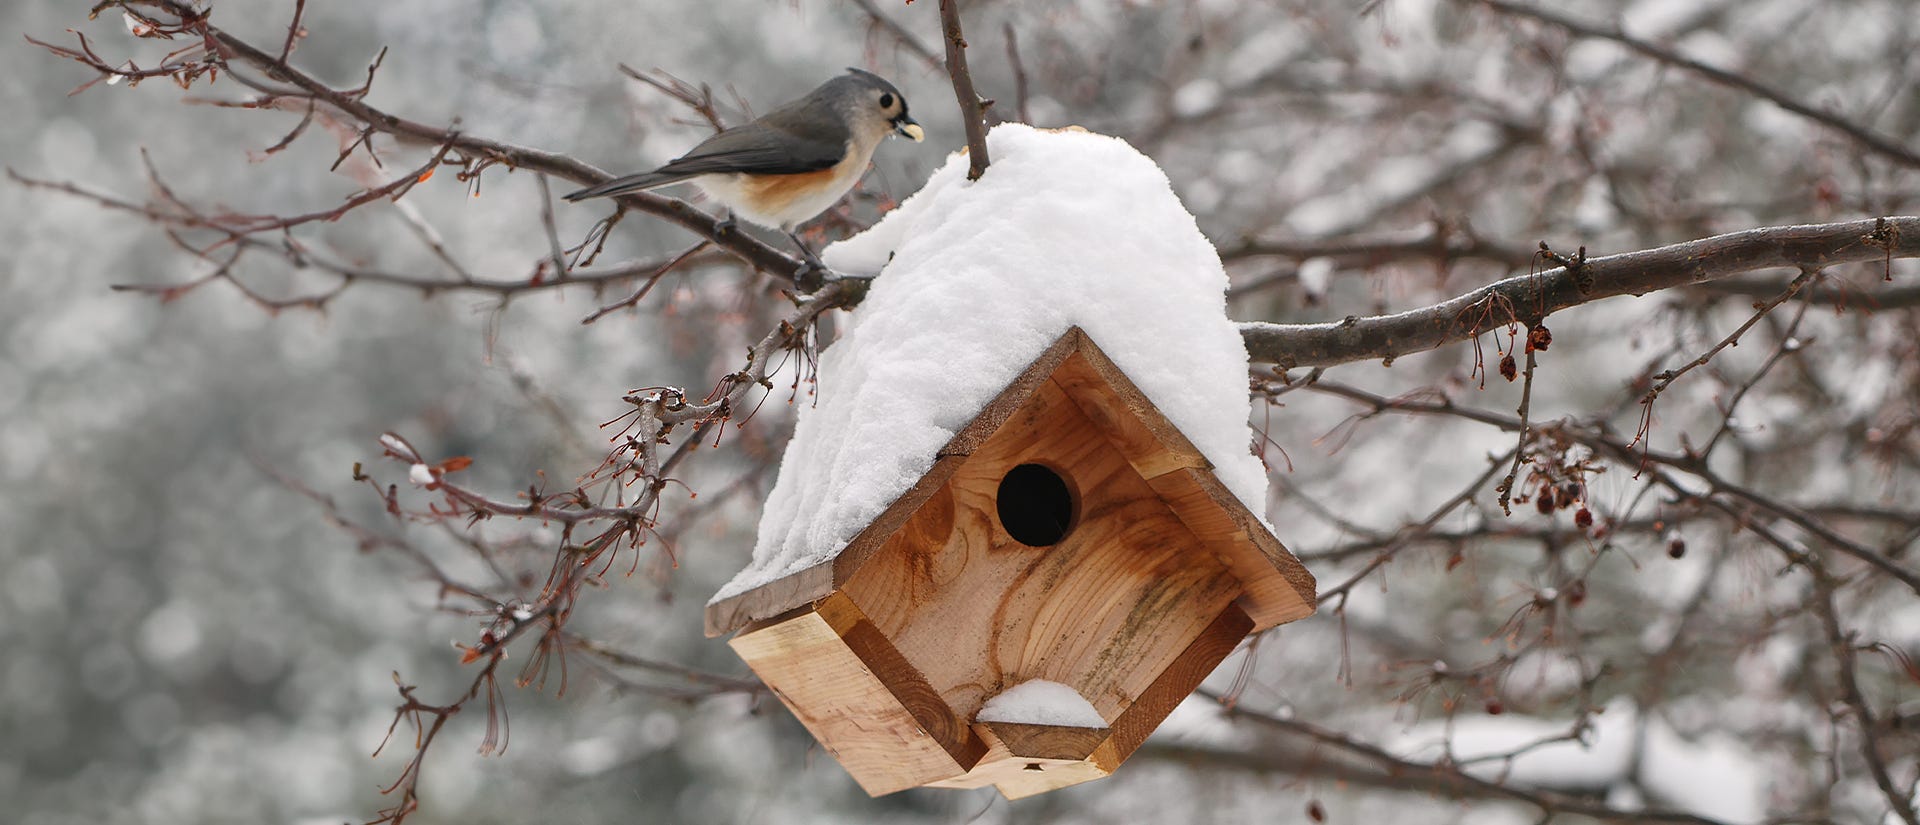
Once you have properly cleaned your birdhouse, you can winterize it. More delicate gourd houses, clay bird houses, or heavily decorated houses that could be damaged by snow and ice should be stored for winter. Wrap them in a plastic bag and store them where they won’t be lost or damaged before spring. Storing birdhouses in a clean, cool, dry location will keep them in peak condition for many years.
Convert a Bird House into a Roost Box
Another popular option is to convert simple, sturdy birdhouses to winter roost boxes for birds. You should do this before the first hard freeze of the season. Bluebirds, titmice, nuthatches, wrens, and chickadees will all use roost boxes to share body heat and survive cold snaps.
- Turn the front panel upside down if possible, positioning the entrance hole closer to the bottom so heat will rise inside the house to keep it warmer on cold nights.
- Use tape, caulk, or wadded paper to block some ventilation and drainage holes for better heat conservation. Do not block every hole, however, or birds might smother with inadequate air.
- Add a layer of grass, wood shavings, or even a scrap of carpet to the bottom of the house for better insulation and easier cleaning in the spring.
- Install perches inside the house, such as leaning twigs or thin dowels from corner to corner to allow a variety of birds to use the space effectively without smothering birds on the bottom.
- Use a piece of tar paper or a dark shingle to cover the house’s roof and invite better solar heat absorption to keep the house warmer on cooler days.
- Position the house in a protected location for winter use, out of reach of winds, ice, and snow.
With these simple steps, a birdhouse easily becomes a roost box—a welcome shelter for small birds to endure the coldest weather. In spring, clean the roost box again and prepare it for nesting birds to repeat the cycle over again.


